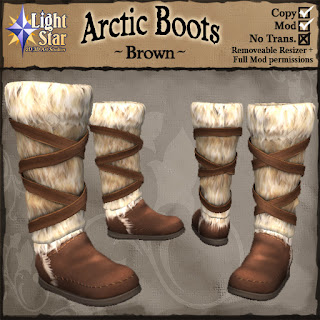
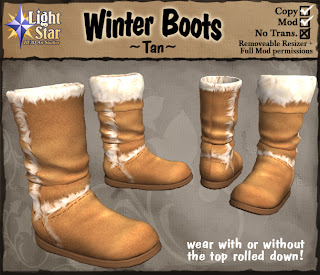
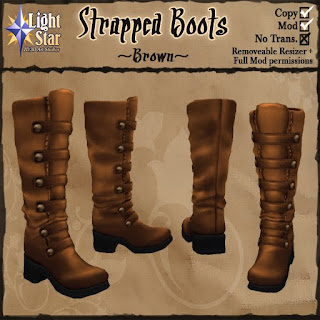
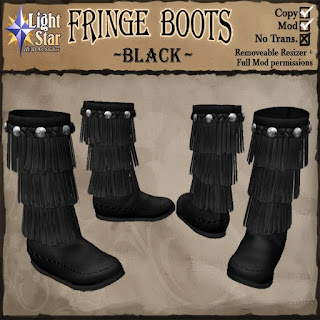
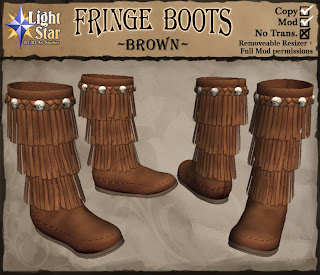
Warm and furry boots for the winter!
Friday, December 10, 2010
Saturday, December 4, 2010
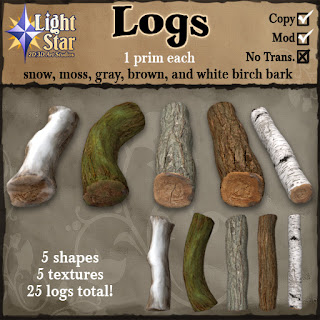
Logs!
The "poles" of these sculpty logs were textured properly so all sides of these logs look good and seamless!
Wednesday, October 27, 2010
Wednesday, October 20, 2010
Tuesday, October 19, 2010
Friday, September 17, 2010
Tuesday, September 7, 2010
Friday, August 27, 2010
Monday, August 16, 2010
Saturday, July 10, 2010
Thursday, June 10, 2010
Monday, June 7, 2010
Thigh High Pirate Boots -Brown
Made a brown version as requested by someone. These are actually the same brown as the brown pirate boots, and if they're not dark enough for you you can tint them using a light gray.
Tuesday, May 25, 2010
Thursday, May 13, 2010
Chainmail Shirt- Unisex
I was planning on doing this one for a while, finally got it done. Just a plain chainmail shirt, good for wearing underneath other stuff:
Thursday, May 6, 2010
Sunday, April 18, 2010
Thursday, April 15, 2010
Texture on Avatar Mesh in Blender
How to apply a texture to an avatar Mesh in Blender.
1. Download the avatar mesh! There were 2 places I found Second Life avatar meshes from:
http://secondlife.com/community/avatar.php
http://www.ccccybernetics.com/avatar_databank/
The latter seems to have more accurate meshes, so I would download from there. Get the first 2 downloads where it says "true female/true male". Ignore the .mtl files, what you need are the .obj's.
2. Import the .obj file(s) into Blender.
Go to File->Import->Wavefront (.obj)
After you choose the .obj model a dialogue box will come up. All you need to have selected there are "Keep Vert Order". The rest should be unselected.
3. Separate the parts of the model. If you downloaded the avatar mesh from Cybernetics your model will look like the one on the left, the other is from the SL website. Either way, you still have to separate the parts of the model to make it easier to apply and load your textures on it.
So to do this:
a. Select the model and go into edit mode[tab].
b. Hover your mouse cursor over a part of the mesh, say the skirt to start off with, and hit the L key. If you did it correctly you'll notice that only the skirt got selected. The reason this happened is because the vertices on the skirt are not welded to the rest of the mesh(as with the other parts we'll separate).
c. Hit P and choose Selected. Now the skirt is it's own object!
D. Let's move the skirt onto another layer so it's easier to see the rest of the mesh, and the skirt will still be lined up in place if you ever need it. Select the skirt in OBJECT mode(not edit mode!), hit M then click on any of the blocks that come up(those represent layers in blender). Choose ok and it will dissapear from view-but don't worry it's still on the layer you put it on which you can get back on the header of the 3D viewport.(*note you can view multiple layers at a time by holding down the Shift key while selecting layers).
E. Ok now do the same things for the rest of the parts of the model. Select the model again, go into edit mode, hover the cursor over the legs, torso, head(also head and eyes if you got the cybernetics model) hit L, etc... there's obviously no need to move the torso/legs/head parts to different layers, since they just all line up with each other, but if you want to you can :)
4. Apply your texture to the 3d model.
a. Alongside of your 3d view, open the UV editor. Here's a beginner's tutorial on Blender's User Interface that will explain how to configure your screen in order to do that:
http://www.blender.org/education-help/tutorials/tutorial-folder/blender-user-interface-tutorial/
b. Select the part of the model you want to apply the texture to(head, torso, or legs), then go into Edit mode. Hit the A key to select all vertices. You should see something like this:
c. In the UV editor, go to Image->Open, and pick your texture.
d. In the 3d view, on the header bar, choose Draw Type: Textured, and your texture should now appear on your model. Do that for each part of the model and you should have a fully textured model in blender which you can rotate around to view your textures on! :)
5. How to quickly see changes from 2D->Blender.
While working in your 2D program you can very quickly see the changes on the 3d model by going in the UV editor and choosing Image->Reload, or even faster just press Alt+R! Of course make sure you save your image in the 2d program first.
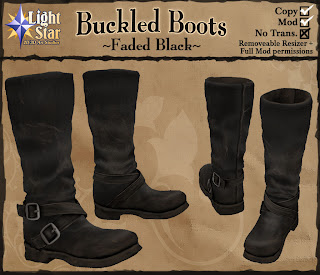
Faded Black Buckled Boots
I got a request to make a faded black version of these...so I did. :) They're slightly lighter black and have some dirt and scuff marks, more worn looking than the normal black ones.
Subscribe to:
Posts (Atom)

